As winter approaches and camping season slows down, it’s time to turn your attention to something many campers overlook: how to properly store your camping stove for winter. Whether you use a compact Jetboil, a rugged propane burner like the Coleman Classic, or a wood-burning stove for your off-grid trips, proper storage can make the difference between a stove that lights on the first try next spring—or one that’s rusted, clogged, or worse, unsafe.
Winter storage isn’t just about putting your stove in a box. It’s about protecting sensitive parts from moisture, cold, and fuel degradation. In this guide, we’ll show you exactly how to clean, store, and inspect your camping stove to keep it in peak condition during the off-season—and ready for adventure when the snow melts.
Step-by-Step Cleaning Before Storage
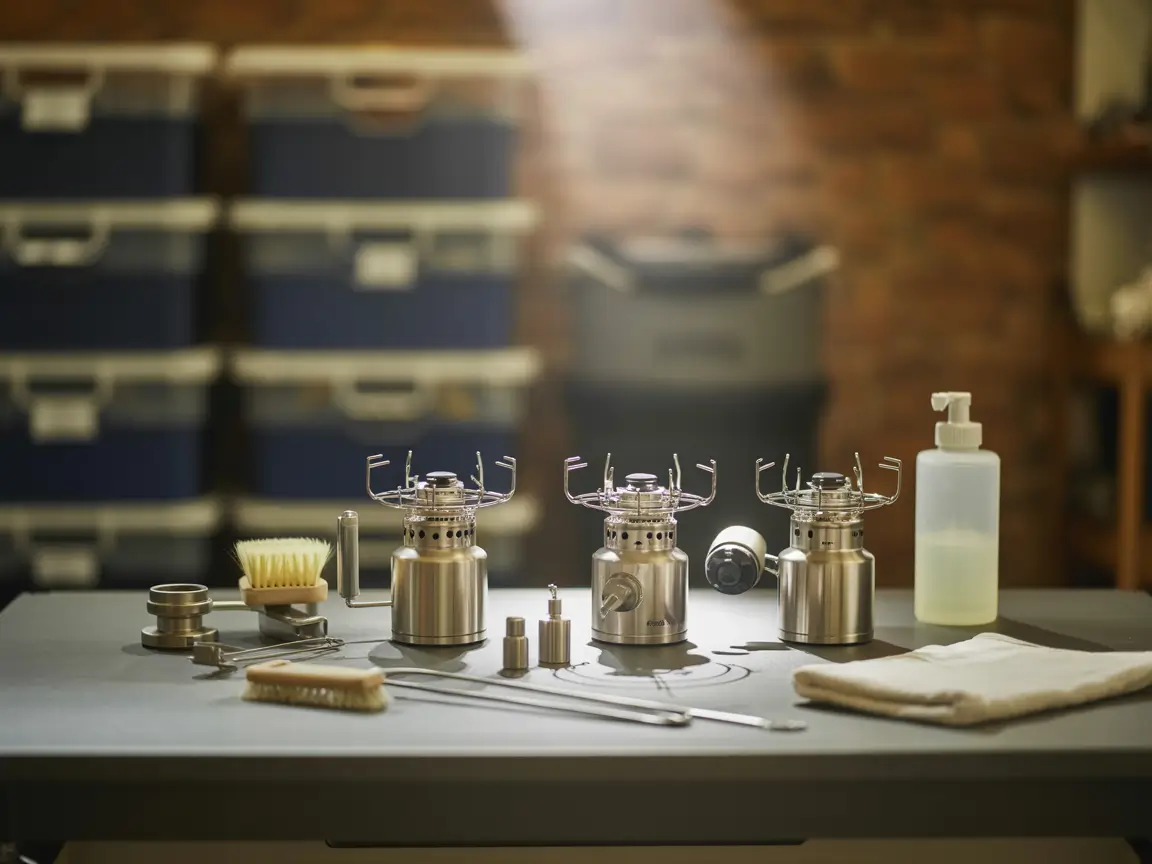
Before tucking your camping stove away for the winter, a proper deep clean is critical. Dirt, grease, and fuel residue left behind can corrode metal parts, clog burners, and create unpleasant odors. Cleaning your stove doesn’t just protect it—it prepares it to perform reliably on your next adventure.
🧼 1. Disassemble the Stove Carefully
Start by disconnecting any fuel source—propane, butane, or biomass—and ensure the stove is completely cool. Remove any detachable components such as the burner head, fuel line, regulator, and pot supports. Consult your stove’s manual for proper disassembly steps.
🔗 Example manual: MSR PocketRocket User Manual
🧽 2. Clean All Parts With Warm Soapy Water
Mix warm water with mild dish soap. Use a soft cloth, toothbrush, or sponge to scrub away soot, grease, and food residue. Focus on:
-
Burner ports (unclog with a needle if needed)
-
Metal surfaces
-
Ignition switches (avoid soaking)
Don’t use harsh chemicals or steel wool—they can damage coatings or internal components.
📚 Related guide on our blog:
How to Properly Clean Your Wood Stove Pipe and Avoid Creosote Buildup
🌬️ 3. Let Everything Dry Completely
After cleaning, lay the parts out on a towel and let them air-dry for at least 24 hours. Trapped moisture can cause corrosion—especially in tight fuel lines or underneath burner heads.
🧰 4. Inspect for Damage or Wear
Before reassembling, check each part:
-
Is the O-ring cracked or brittle?
-
Does the igniter spark reliably?
-
Are there any signs of rust or leaks?
If you notice wear, consider replacing parts or ordering a repair kit.
🔗 Useful resource: Jetboil Maintenance & Parts
✅ Internal Summary
By investing 20–30 minutes in post-season cleaning, you’ll ensure your stove is free of debris, rust-resistant, and safe for use when camping season returns.
Safe Storage for Different Stove Types

🔥 1. Storing Gas Canister Stoves (Propane, Butane, Isobutane)
For gas-powered stoves like the Jetboil Flash or MSR PocketRocket, follow these steps:
-
Disconnect fuel canisters after use. Never store the stove with a canister attached.
-
Store fuel upright in a cool, dry, and well-ventilated area away from heat or flame sources.
-
Label fuel containers and check expiration or production dates.
🔗 Coleman Propane Storage Safety Guidelines
🔗 Learn about fuel canister safety from REI
🪵 2. Storing Wood-Burning Stoves (e.g., BioLite CampStove)
Wood stoves require special attention due to ash residue and exposure to moisture:
-
Empty the burn chamber of any ash or soot.
-
Wipe down the exterior with a dry cloth to prevent rust.
-
If applicable, apply a light coating of oil (like food-safe mineral oil) on metal parts to prevent corrosion during damp winters.
📚 Related: The Best Camping Stoves in 2025
⛽ 3. Multi-Fuel and Liquid Fuel Stoves
Models like the MSR WhisperLite can burn multiple fuel types and often feature pressurized tanks and complex parts:
-
Drain all fuel completely before storage.
-
Flush fuel lines with clean air or alcohol (refer to the brand’s guide).
-
Lubricate moving parts such as pump seals and O-rings to prevent cracking.
💡 Quick Pro Tip:
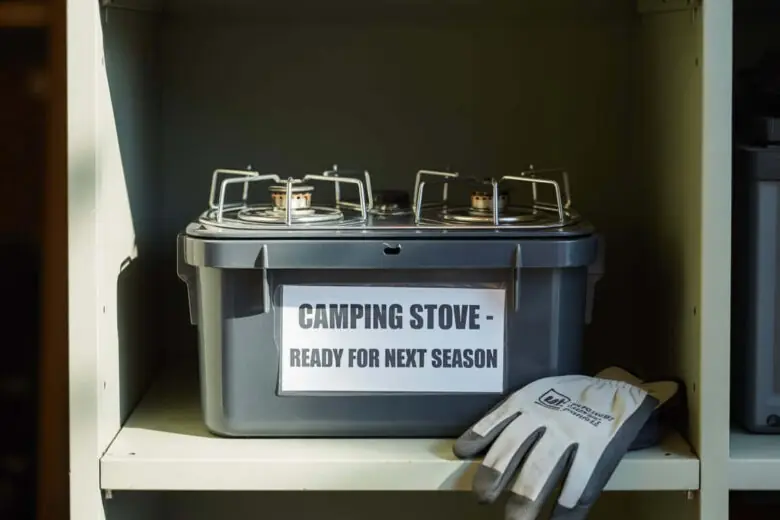
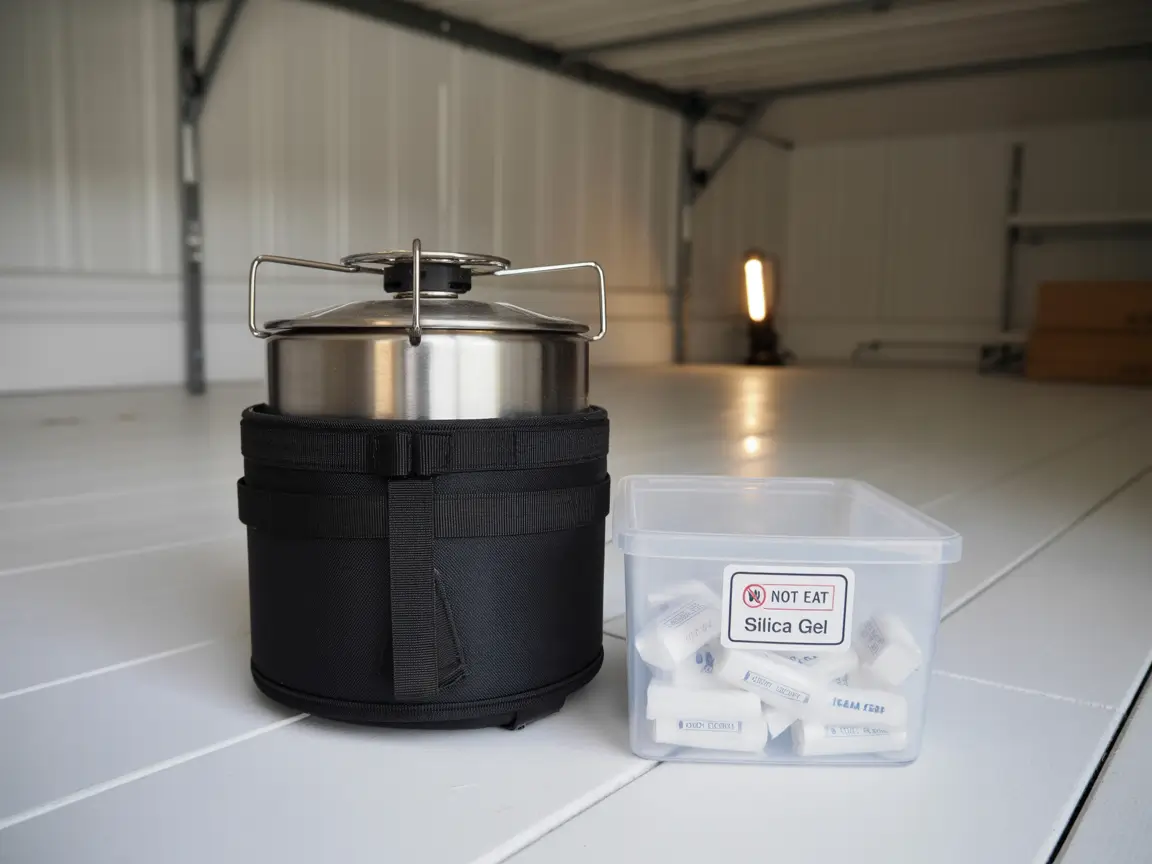
Always store your stove and accessories inside a labeled container or stove bag. Add a silica gel packet or moisture absorber to keep everything dry.
Ideal Storage Locations and Conditions
Even if your stove is clean and dry, where and how you store it during the winter months can make or break its long-term durability. Humidity, freezing temperatures, and poor ventilation can all damage sensitive parts—or worse, create safety hazards when it’s time to use the stove again.
🏕️ 1. Store Indoors When Possible
The best way to protect your camping stove is to keep it indoors—in a dry, room-temperature location like:
-
A closet or gear shelf in your home
-
A cabinet in your garage (if not too cold or humid)
-
A sealed plastic container under your bed or in storage
🧠 Pro Tip: Avoid storing in unheated sheds or attics—extreme cold and moisture cause metal contraction, rust, and brittle plastic parts.
🧰 2. Use Stove Bags or Plastic Bins
To stay organized and safe:
-
Store the stove in its original case or a padded stove bag
-
For longer-term storage, use plastic bins with a lid to protect from dust and pests
-
Add silica gel packs or moisture absorbers to prevent internal corrosion
🚫 3. Keep Fuel Separate and Safe
Never store fuel canisters (propane, butane, or white gas) indoors where temperatures fluctuate. Instead:
-
Store fuel in a well-ventilated, shaded area
-
Keep it away from direct sunlight, flames, or heat sources
-
Label all fuel types and never mix new with old
🧱 4. Elevate From the Floor
Place storage bins or bags on a shelf or pallet, especially if storing in a basement or garage. This protects against:
-
Damp floors
-
Rodents
-
Accidental bumps or drops
💡 A simple wooden crate can lift gear and improve airflow.
Pre-Season Inspection and Reassembly Tips
After months of winter storage, don’t just grab your camping stove and fire it up. A careful inspection and reassembly process is critical to ensure your stove functions safely and efficiently during the first trip of the season.
🔍 1. Inspect for Rust, Damage, or Leaks
Start by examining each component of the stove:
-
Look for rust, especially around hinges, burner ports, and screws.
-
Check fuel lines and O-rings for cracking or brittleness.
-
Make sure valves turn smoothly and there’s no unusual stiffness or corrosion.
-
If your stove has an integrated igniter, test the spark.
🔩 2. Replace Worn-Out Parts
If any parts look questionable—O-rings, gaskets, pumps, or igniters—replace them before your first trip. Most manufacturers offer affordable maintenance kits that include replacements for high-wear items.
🛠️ Popular kits:
🔧 3. Reassemble the Stove Properly
Refer to the stove’s manual or your own notes when putting it back together. Pay attention to:
-
Reconnecting fuel lines tightly
-
Proper alignment of burner heads
-
Lubricating any pump parts (if applicable)
📚 Also read: Step-by-Step Cleaning Before Storage – StovesHQ
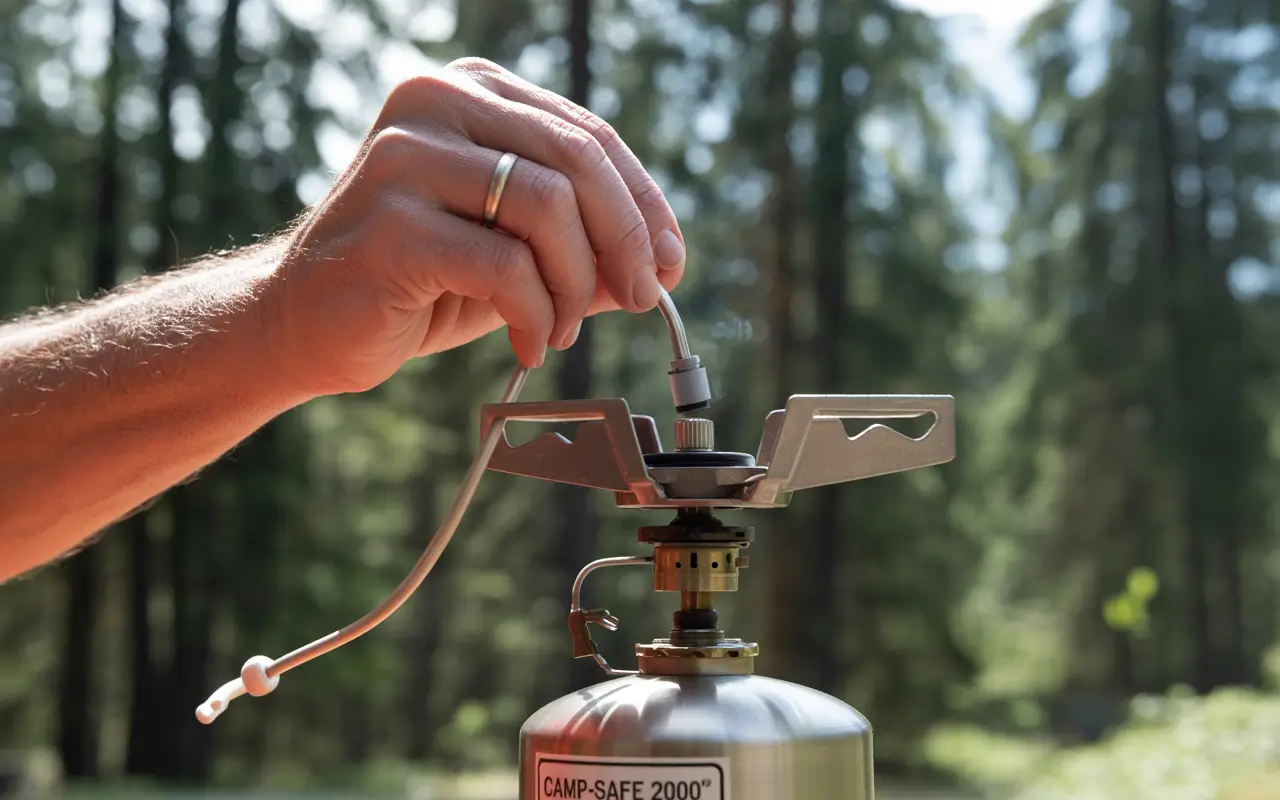
🔥 4. Test It in a Safe Outdoor Area
Before heading out on your first spring camping trip, test your stove at home:
-
Ignite the stove and observe flame strength and color
-
Listen for hissing sounds that may signal gas leaks
-
Ensure stable and even fuel delivery
This step ensures everything runs smoothly when you truly need it.
🎯 With just a few minutes of pre-season attention, your stove will be ready to perform safely and reliably—no surprises, no frustrations.
Protect Your Stove Now, Enjoy It Later
Properly storing your camping stove for winter isn’t just about cleaning—it’s about preserving the life, safety, and reliability of one of your most important outdoor tools. Whether you use a compact backpacking stove, a dual-fuel powerhouse, or a wood-burning unit, the steps are simple but powerful:
-
Clean it thoroughly
-
Store it in a dry, protected environment
-
Separate and secure your fuel
-
Inspect and test before your next trip
With a bit of care and preparation, you can avoid rust, damage, and dangerous leaks—ensuring your stove is always ready to perform when the adventure calls.
🔥 Want More Gear Care Tips?
Explore our full Camping Stove Maintenance Guide for year-round performance and safety.