A wood stove is a cozy, efficient way to heat your home—but it also requires regular maintenance to stay safe and effective. One of the most critical yet often overlooked tasks is cleaning your wood stove pipe. Over time, burning wood produces a sticky, flammable substance called creosote, which can accumulate inside the pipe and pose serious fire hazards if not removed.
Neglecting this part of stove maintenance can lead to reduced efficiency, toxic smoke backflow, and even chimney fires. Fortunately, with the right tools, techniques, and a bit of know-how, keeping your stove pipe clean is a straightforward job that can save you money and give you peace of mind.
In this guide, we’ll walk you through why cleaning is so important, what supplies you’ll need, and how to safely and effectively remove creosote buildup. Whether you’re a new wood stove owner or just due for a seasonal clean-up, this checklist will help you keep your wood stove running efficiently—and safely—all year round.
Why Cleaning Your Wood Stove Pipe Is Essential
Keeping your wood stove pipe clean isn’t just about improving performance—it’s a crucial safety measure. A neglected stove pipe can lead to serious hazards, most notably the buildup of creosote, a flammable byproduct of wood combustion.
The Dangers of Creosote Buildup
Creosote accumulates inside the stove pipe as smoke cools and condenses during the burning process. Over time, this sticky, tar-like substance thickens and becomes increasingly flammable. If ignited, it can cause a chimney fire that spreads rapidly and may result in extensive property damage or personal injury.
In addition to fire hazards, creosote can block proper ventilation, leading to carbon monoxide poisoning—a silent and potentially fatal risk. Regular cleaning helps reduce these dangers significantly.
How Creosote Forms in Wood Stove Pipes
Creosote is primarily the result of incomplete combustion—burning wood that is too wet or burning fires that are too cool. When smoke travels up a cool flue, it condenses on the interior walls and leaves behind deposits.
There are three stages of creosote buildup:
-
Stage 1: Fine soot that’s easy to clean.
-
Stage 2: Flaky, crunchy deposits that require more effort.
-
Stage 3: Hardened, glaze-like creosote that is extremely difficult to remove and highly flammable.
Understanding how creosote develops helps highlight why proper burning practices and regular cleanings are vital.
Signs You Need to Clean Your Stove Pipe
It’s important to recognize when your stove pipe is due for maintenance. Some of the most common indicators include:
-
Reduced draft or poor airflow, causing smoke to leak into your living space.
-
Smoke backing up into the room when you light a fire.
-
Visible black soot or tar-like buildup around the pipe joints or inside the stove.
If you notice any of these signs, it’s time to schedule a cleaning or inspect the system more thoroughly.
EPA and CSIA Recommendations
Both the Environmental Protection Agency (EPA) and the Chimney Safety Institute of America (CSIA) recommend inspecting and cleaning your chimney at least once a year, or more frequently if you use your stove heavily.
The CSIA also advises that even occasional stove users should check for creosote buildup, as small amounts can accumulate quickly under the wrong conditions. Following these guidelines ensures your wood stove operates safely and efficiently year-round.
Tools and Supplies Needed for Cleaning

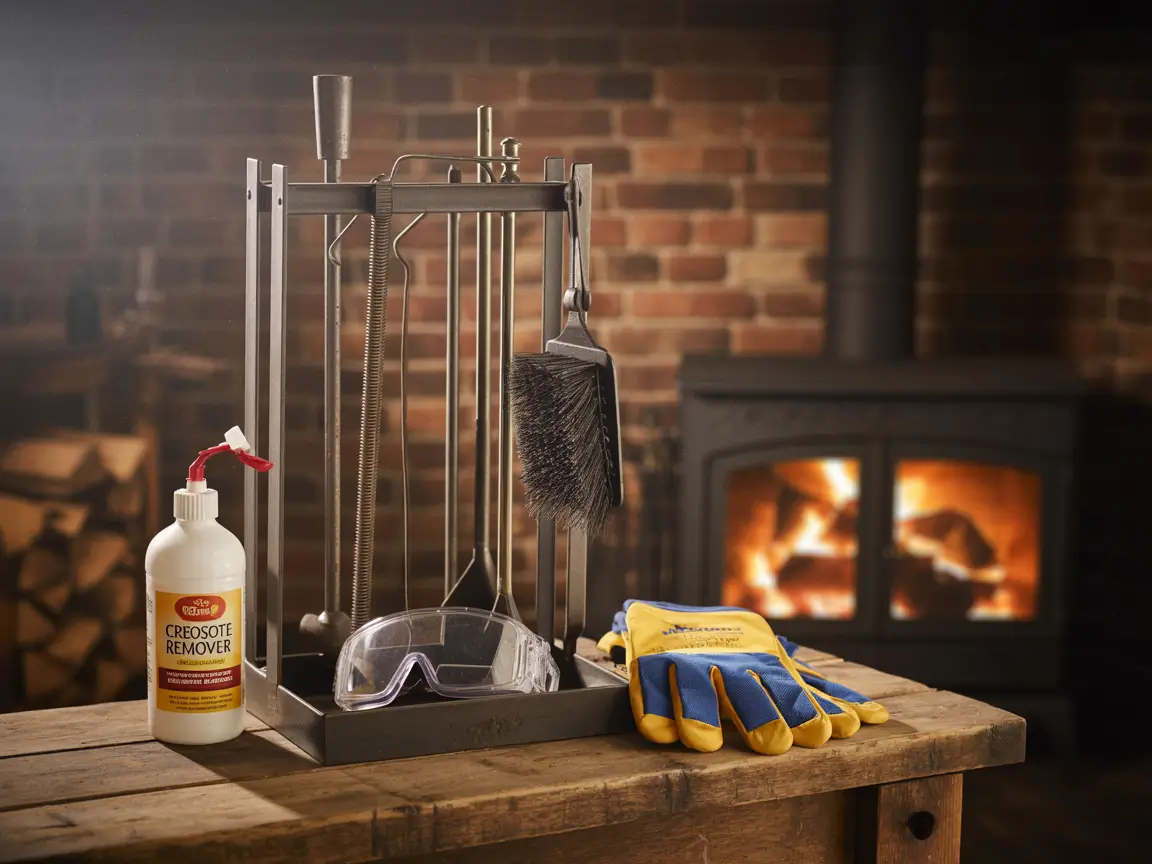
Before you dive into cleaning your wood stove pipe, it’s important to gather the right tools and safety gear. Having the proper equipment not only makes the job easier but also helps ensure a thorough and safe cleaning.
Chimney Brushes and Rods
The most essential tools for the job are a chimney brush and extension rods. Chimney brushes come in two main types:
-
Wire brushes, which are more aggressive and effective for heavy creosote buildup.
-
Polypropylene brushes, which are gentler and ideal for stainless steel pipes that can be scratched by metal bristles.
When choosing a brush, make sure it matches the diameter of your stove pipe—a snug fit is critical for effective cleaning. Extension rods allow you to reach all the way through the flue, whether you’re cleaning from the top down or bottom up.
Protective Gear and Safety Equipment
Cleaning a wood stove pipe can be a dirty—and potentially hazardous—task. Be sure to gear up with the following:
-
Heavy-duty gloves to protect your hands from soot and sharp edges
-
Safety goggles to shield your eyes from falling debris
-
A respirator or dust mask to prevent inhalation of ash and fine particles
If you’re working on a roof, always use proper fall protection or consider hiring a professional.
Recommended Cleaning Products
In addition to mechanical tools, certain creosote removers can help loosen stubborn buildup. Popular and trusted brands like Rutland offer:
-
Sprays or powders that chemically break down creosote
-
Creosote sweeping logs for light maintenance between manual cleanings
If you prefer a greener option, there are also eco-friendly cleaners that use natural ingredients to reduce buildup without harsh chemicals.
Optional Equipment
While not required, these extras can make the job cleaner and more efficient:
-
A shop vac (preferably one rated for ash) to clean up debris
-
Drop cloths or tarps to protect your floor or furniture
-
An inspection camera or flashlight to check the inside of the pipe before and after cleaning
Having the right setup from the start helps ensure a safe, efficient, and effective cleaning process.
Step-by-Step Guide to Cleaning Your Wood Stove Pipe
Cleaning your wood stove pipe may seem like a daunting task, but with the right preparation and a clear process, it’s something most homeowners can handle safely. Follow these step-by-step instructions to remove creosote buildup and keep your stove running efficiently.
Preparing for the Job
Before you begin, make sure your wood stove is completely cool—ideally, wait at least 24 hours after your last fire. Disconnect the stove if needed and close off any air intakes to prevent dust from circulating into your home.
Next, safely access your roof and remove the chimney cap to expose the flue. Be cautious, especially on sloped or icy roofs. Use a sturdy ladder and consider using a roof safety harness if conditions are tricky.
Cleaning from the Top Down
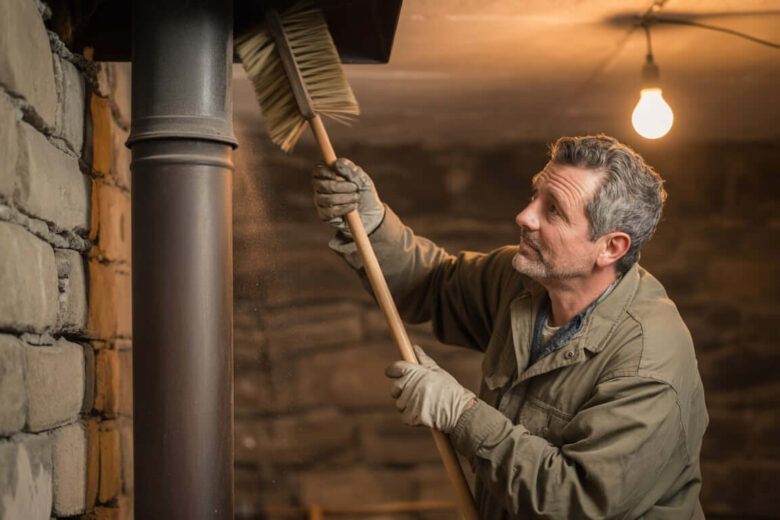
The most effective cleaning method is typically from the top down. Insert your chimney brush into the flue and begin scrubbing in firm, short strokes. Use extension rods to reach deeper sections of the stove pipe.
Continue scrubbing until you’ve worked the brush all the way down to the base of the flue. You’ll likely see loosened soot and creosote falling into the stove or clean-out area below.
Cleaning from the Bottom Up (if applicable)
If you can’t access the top of your chimney or prefer to stay off the roof, cleaning from the bottom up is also possible. You’ll need a flexible brush system and access through a clean-out door or by removing part of the stove pipe.
Push the brush up through the pipe, adding rods as you go. Take your time to thoroughly scrub all surfaces inside the flue.
Post-Cleaning Inspection
Once cleaning is complete, perform a visual inspection of the stove pipe. Use a flashlight or inspection camera to check for:
-
Remaining soot or glazed creosote
-
Cracks or corrosion in the flue liner
-
Loose pipe joints or areas where smoke might leak
Make sure everything is securely reassembled, including the chimney cap. Dispose of the removed creosote safely, and vacuum or sweep up any fallen debris from inside your stove.
How to Prevent Creosote Buildup Year-Round

Preventing creosote buildup isn’t just about cleaning—it starts with how you use and maintain your wood stove every day. By adopting a few key habits and making some smart upgrades, you can drastically reduce creosote accumulation and enjoy a safer, more efficient heating season.
Burn Proper, Seasoned Wood
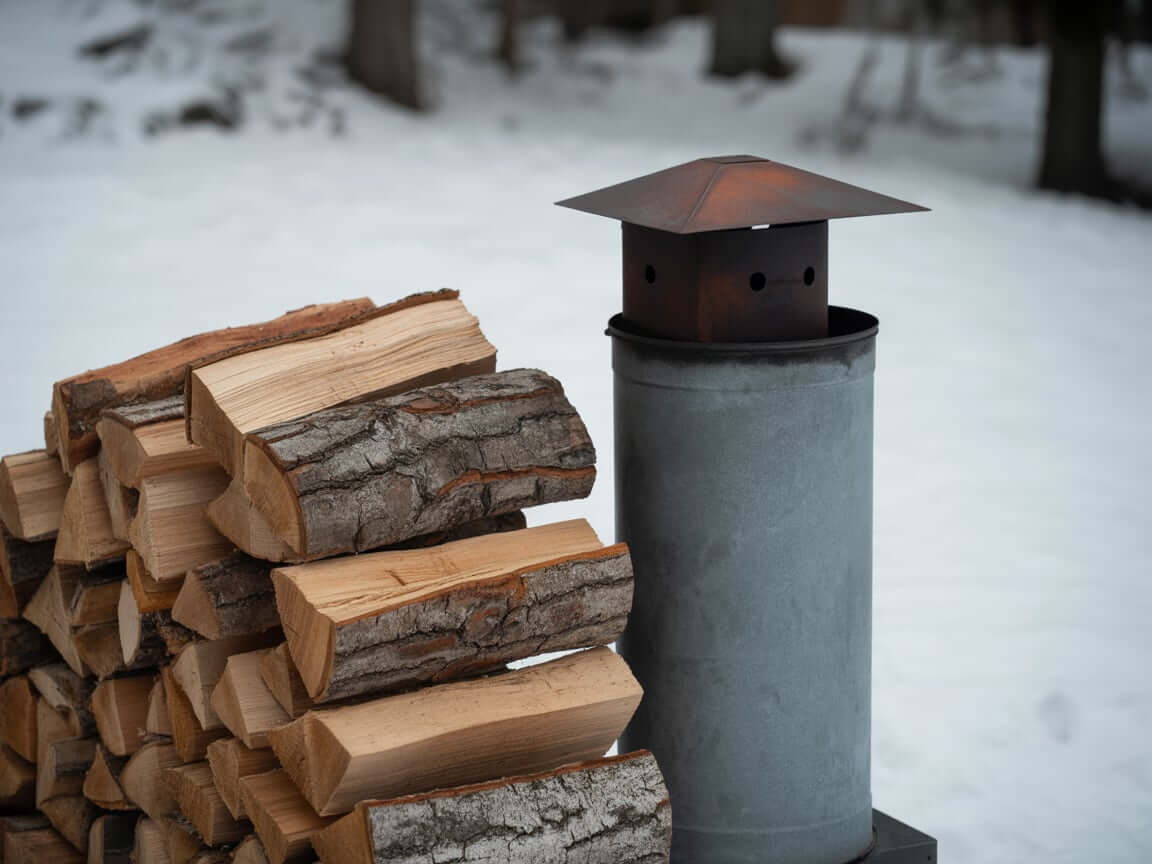
The most important step in preventing creosote is burning properly seasoned firewood. Wood should have a moisture content of 20% or less—you can test this with a wood moisture meter. Burning wet or “green” wood causes smoke to cool quickly and deposit more creosote inside the flue.
Stick to dense hardwoods like oak, maple, or hickory for the best burn. Softwoods (like pine) can burn too fast and produce more residue, especially if not fully dried.
Maintain Proper Airflow and Temperature
A strong, steady draft ensures smoke exits your chimney efficiently, reducing condensation and buildup. Avoid overloading your stove and make sure the air inlets aren’t blocked. Always start fires hot and allow them to burn at a high temperature for the first 20–30 minutes to warm the flue.
Don’t damper down the fire too early—slow, smoldering burns are a leading cause of creosote.
Install a Chimney Cap and Flue Liner
A chimney cap protects your flue from rain, snow, and falling debris—all of which contribute to creosote buildup. It also helps prevent birds or animals from nesting in your chimney.
If your system doesn’t already have one, consider installing a stainless steel flue liner. Liners improve draft, make cleaning easier, and protect the chimney structure from corrosion or heat damage.
Schedule Annual Inspections
Even with proper habits, you should have your chimney inspected at least once per year by a CSIA-certified chimney sweep. A professional can detect hidden issues, remove hardened creosote, and ensure your entire system is operating safely.
Early fall or late spring is the best time to book an inspection—before peak heating season or right after it’s ended.
Common Questions About Wood Stove Pipe Maintenance
Maintaining a clean and efficient wood stove pipe is essential for safety and performance. If you’re unsure about when or how to clean your stove pipe, here are answers to some of the most common questions homeowners have about wood stove maintenance.
How Often Should You Clean Your Stove Pipe?
The frequency of cleaning depends on several factors:
-
Usage: If you use your stove regularly, cleaning it every 2 to 3 months during peak season is recommended.
-
Wood Type: Burning wet or green wood leads to more creosote buildup, requiring more frequent cleanings.
-
Seasonal Use: If you only use your stove seasonally, an annual cleaning should suffice, but check for buildup mid-season if you notice any issues like reduced airflow or smoke backup.
Always inspect your stove pipe if you suspect a problem, as buildup can accumulate quickly under the wrong conditions.
Can You Use Chemical Cleaners Alone?
While chemical cleaners like creosote logs and sprays can help break down minor deposits, they are not a substitute for physical cleaning. The pros and cons of these products include:
-
Pros: Convenient and easy to use, reducing minor buildup over time, and they help keep the stove functioning more efficiently.
-
Cons: They can’t remove thick or glazed creosote, and they don’t address issues like cracks or corrosion in the pipe. Relying solely on chemicals without regular brushing is not recommended.
Use these products as an additional tool, but always follow up with mechanical cleaning methods for thorough maintenance.
What’s the Best Time of Year to Clean?
The best time to clean your wood stove pipe is late spring or early fall. These seasons are ideal because they follow the heating period but are not yet in full swing. Cleaning your stove pipe before the cold weather sets in ensures you won’t encounter any issues during heavy use.
Cleaning it after the season ends also ensures you’re not dealing with soot buildup from last year’s fires when it’s time to get your stove ready for the next winter.
When Should You Call a Professional?
While regular cleaning can often be done by homeowners, there are times when you should call in a professional:
-
Excessive creosote buildup: If your stove pipe has significant or Stage 3 creosote, it may require professional-grade equipment to remove it safely.
-
Structural damage: If you notice cracks or damage in the flue liner or joints, a certified chimney sweep should handle the repairs.
-
Persistent smoke issues: If smoke continues to back up into your home despite regular cleaning, it could be a sign of a serious draft issue or a problem with the stove or chimney that requires expert diagnosis.
A CSIA-certified chimney sweep can provide the expertise and tools to handle complex cleaning and repairs.
EPA’s Burn Wise program: https://www.epa.gov/burnwise

